
Adjusting the screen brightness of your PC is a simple yet effective way to improve your gaming experience. In this article, we will be discussing how to adjust the screen brightness on your Windows PC. This method works in Windows 11 and 10.
The easiest way to quickly adjust brightness is by using the Windows Calibrate Display Color tool. You can access this tool by clicking the Windows button and typing "calibrate" or by going to Settings > System > Display > Advanced Display Settings > Adapter Properties > Color Management > Advanced tab > Calibrate Display.
Once you have accessed the Calibrate Display Color tool, click on "Next" a few times until you reach the gamma adjustment option. Gamma refers to the brightness of the mid-tones on your display. If the game is too dark, selecting the "Gamma to high" option to make the game look brighter. You can adjust the brightness by pulling the slider up as high as you need for your game. You should see your display getting brighter immediately.
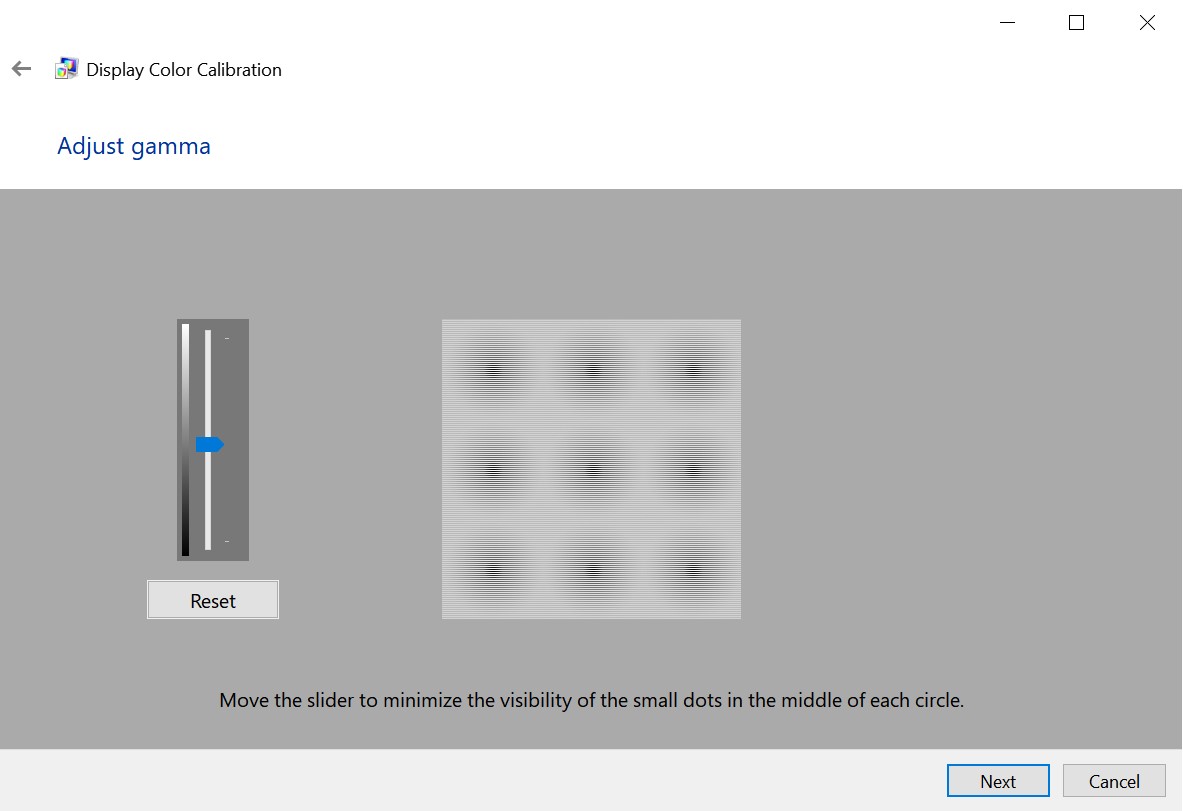
If you have the game open while adjusting the screen brightness, you can press Alt+Tab to take a quick glance at the game window to ensure that it is as bright as you need it to be. Once you are satisfied with the brightness, click "Next" until you reach the end of the calibration process.
After you have finished playing the game, you can go back to the Calibrate Display Color tool and leave the gamma settings on the middle. Click "Next" until you reach the end of the calibration process, and this will change the settings back to the way they were before you started playing.
Adjusting the screen brightness on your Windows PC is a quick and easy way to improve your gaming experience. By using the Calibrate Display Color tool, you can adjust the screen brightness to your preferred level and easily switch back to your default settings once you are done playing. Let us know about your favorite method to adjust screen brightness in the comments. Thank you for reading!